Science experiments can be a fantastic way to engage people of all ages in the wonders of science, without needing to leave the comfort of your home. These activities not only provide educational value but also offer hours of fun and discovery. Here’s a list of 10 safe and exciting science experiments that you can easily perform at home. Perfect for kids, teens, and adults alike, these experiments are designed to spark curiosity and deepen understanding of scientific concepts.
1. Baking Soda and Vinegar Volcano
Materials:
- Baking soda
- Vinegar
- Red food coloring (optional)
- Dish soap
- A small container (e.g., a cup or a bottle)
- A tray to contain the mess
Instructions:
- Place the small container on the tray.
- Add a few drops of dish soap and red food coloring to the container.
- Pour in some baking soda.
- Slowly pour vinegar into the container and watch as the mixture bubbles and overflows like a volcano.
Scientific Explanation: The reaction between baking soda (a base) and vinegar (an acid) produces carbon dioxide gas, which creates the bubbling effect. This simple experiment demonstrates an acid-base reaction.
2. Invisible Ink
Materials:
- Lemon juice
- Water
- A cotton swab or a brush
- White paper
- A lamp or a hairdryer
Instructions:
- Mix lemon juice with a small amount of water.
- Use a cotton swab or brush to write a message on the white paper with the lemon juice mixture.
- Allow the paper to dry completely.
- To reveal the message, hold the paper close to a heat source like a lamp or hairdryer.
Scientific Explanation: Lemon juice is an organic compound that oxidizes and turns brown when heated. This experiment demonstrates how heat can reveal hidden messages.
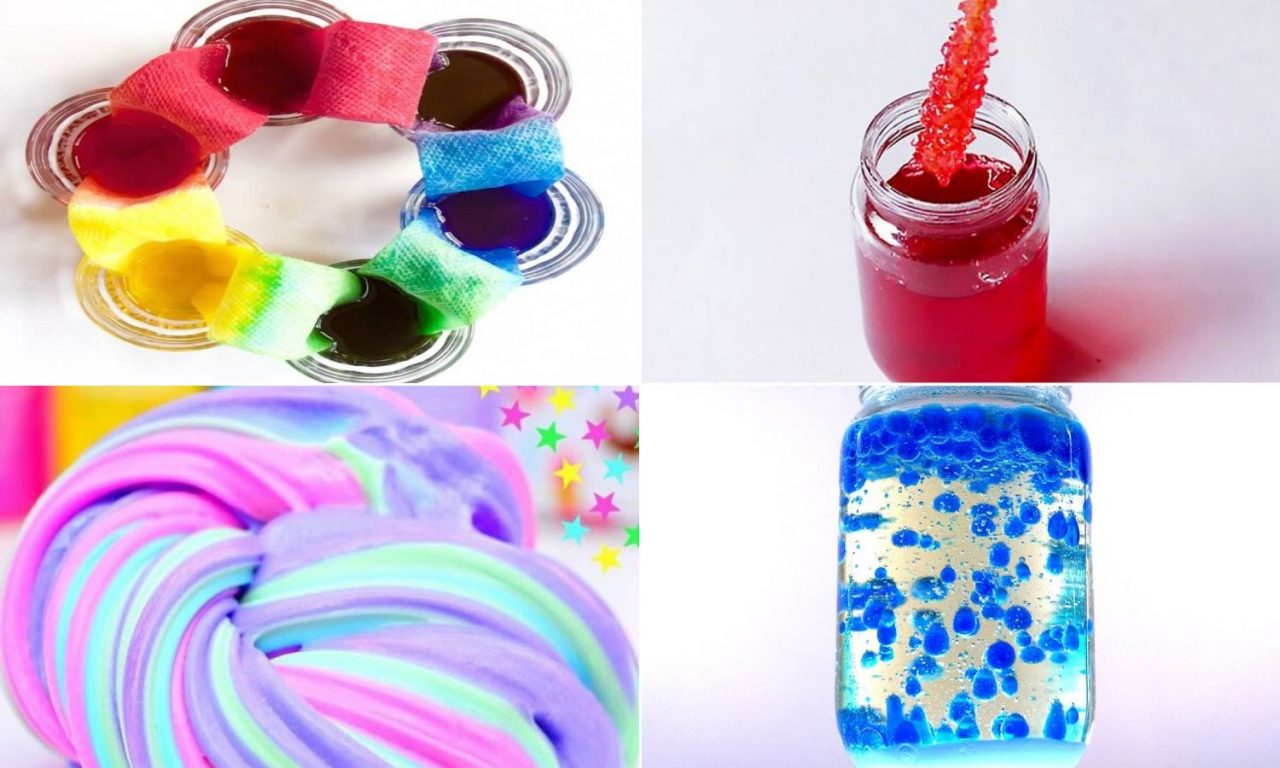
3. Homemade Slime
Materials:
- White glue
- Baking soda
- Contact lens solution
- Food coloring (optional)
Instructions:
- In a bowl, mix 1/2 cup of white glue with a few drops of food coloring if desired.
- Add 1/2 cup of baking soda and stir until fully combined.
- Slowly add contact lens solution until the mixture starts to come together and becomes less sticky.
- Knead the slime with your hands until it reaches the desired consistency.
Scientific Explanation: The slime forms due to the reaction between the glue and the baking soda. The contact lens solution contains boric acid, which interacts with the glue to form the slime’s unique texture.
4. Homemade Lava Lamp
Materials:
- A clear bottle
- Vegetable oil
- Water
- Food coloring
- Alka-Seltzer tablets
Instructions:
- Fill the bottle about two-thirds full with vegetable oil.
- Fill the rest of the bottle with water, leaving some space at the top.
- Add a few drops of food coloring to the water.
- Break an Alka-Seltzer tablet into pieces and drop them into the bottle one at a time.
- Watch as the colored bubbles rise and fall.
Scientific Explanation: The Alka-Seltzer reacts with the water to produce carbon dioxide gas, which creates bubbles that carry the colored water to the top. The oil and water do not mix, so the bubbles rise and fall through the oil.
5. DIY Rock Candy
Materials:
- Water
- Granulated sugar
- A heat-resistant glass jar
- A skewer or string
- A clothespin
Instructions:
- Heat water in a saucepan and gradually add sugar until it no longer dissolves.
- Pour the saturated sugar solution into the glass jar.
- Attach a skewer or string to a clothespin and place it in the jar so that it doesn’t touch the sides.
- Let the jar sit undisturbed for a few days to a week until crystals form on the skewer or string.
Scientific Explanation: As the water evaporates, the sugar crystallizes on the skewer or string. This experiment demonstrates crystallization, a process where a substance forms a solid crystalline structure.
6. Oobleck
Materials:
- Cornstarch
- Water
- A bowl
- Food coloring (optional)
Instructions:
- Mix 1 cup of cornstarch with 1/2 cup of water in a bowl.
- Add food coloring if desired.
- Stir the mixture until it reaches a consistency where it feels solid when pressed but flows like a liquid when not disturbed.
Scientific Explanation: Oobleck is a non-Newtonian fluid that behaves as a solid under pressure but flows like a liquid when pressure is released. This experiment highlights the properties of non-Newtonian fluids.
7. Floating Egg
Materials:
- An egg
- Salt
- Water
- A clear glass
Instructions:
- Fill the glass with water.
- Gently place the egg in the water to see it sink.
- Remove the egg and dissolve salt into the water, stirring until no more salt dissolves.
- Place the egg back in the saltwater solution and observe it floating.
Scientific Explanation: Adding salt to the water increases its density. When the water density is higher than that of the egg, the egg floats. This experiment demonstrates the principle of density.
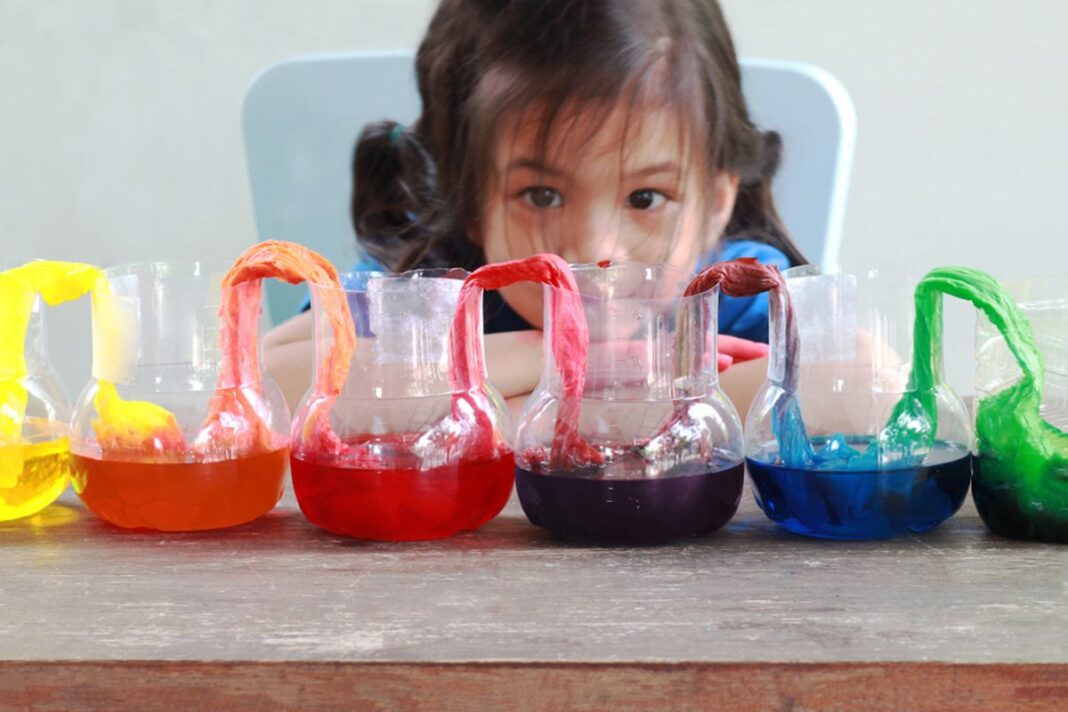
8. Paper Towel Color Mixing
Materials:
- Paper towels
- Food coloring
- Small cups
- Water
Instructions:
- Fill the small cups with different food colors.
- Fold a paper towel into a strip and place one end into the colored water.
- Observe as the color travels up the paper towel, mixing with other colors if you use multiple cups.
Scientific Explanation: This experiment demonstrates capillary action, where water moves up the paper towel through tiny spaces due to adhesion and cohesion properties.
9. Density Tower
Materials:
- Different liquids (e.g., honey, dish soap, water, vegetable oil)
- A clear glass
Instructions:
- Slowly pour each liquid into the glass, starting with the most dense (e.g., honey) and ending with the least dense (e.g., vegetable oil).
- Pour each liquid gently down the side of the glass to avoid mixing.
Scientific Explanation: The liquids separate into layers due to their different densities. This experiment visually demonstrates how density affects how substances stack.
10. Static Electricity Balloon
Materials:
- A balloon
- A wool sweater or cloth
- Small paper bits
Instructions:
- Inflate the balloon and tie it.
- Rub the balloon against the wool sweater or cloth for a few seconds.
- Hold the balloon near the small paper bits and watch them stick to the balloon.
Scientific Explanation: Rubbing the balloon transfers electrons to it, giving it a negative charge. The static electricity attracts the small paper bits, demonstrating the principles of electrostatics.


